
8(903)201-21-74
ООО "ЧетыреДатчика"
|
Оператор: 8(903)201-21-74 ООО "ЧетыреДатчика" |
|
Оператор: 8(903)201-21-74 ООО "ЧетыреДатчика" |
Главная страница Titan-nvr user manual 1 2 3 4 5 6 7 ... 11 among different views. In the corner of view tour, you can switch between previous and next views, and toggle full screen. Toggle full-screen Go to previous view Pause Go to next view     7.1.5 Search A View 1. Clicking on the magnifier icon will show a text field. 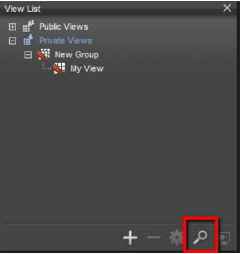 2. You may type the view you look for. Clicking on the arrows will focus on the matched results. 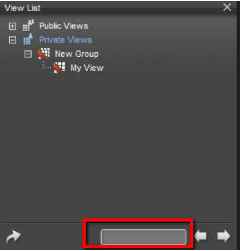 7.1.6 Delete A View If you want to delete a view, click on the Delete button sign.  An error message will pop up if you do not have permissions to modify a view. 7.1.7 Duplicate a view or a view tour 1. Select a view or a view tour 2. Click on Eland continue to click on Save As ... Mew Group Camera 4+fnap 0714 □ Private.Vlaws New View Tour 3. You can enter the name of the duplicated view or view tour and specify the destination view group. 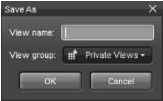  lew group WvateVreiwS  7.2 Configure Content A content item is an object which can be placed onto a view. It can be a camera, I/O device, image fusion of video streams, and an E-map. Devices can be categorized into two types: physical and virtual. Cameras and I/O devices are physical devices, and image fusion and E-map are virtual devices.
The information of cameras and I/O devices is automatically downloaded to the system and configured when you connect to a server. Image fusion and E-map are editable and configurable in NuClient. 7.2.1 Add image fusion 1. Click on Image Fusion Editor. Update View List to server Backup Tool E-Map Editor Image Fusion Editor fljl Client Configuration Export Client Config Import Client Config About Logout Exit 2. In the editor window, the left side is the list of existing image fusions. The right side is the configuration tool and the list of available cameras. 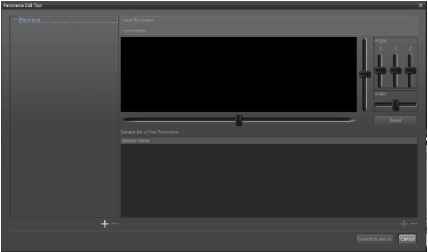 3. Click on the Add button and a new image fusion will be added. 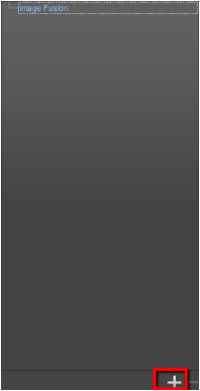 4. You may click on the name of the created image fusion to change the name. 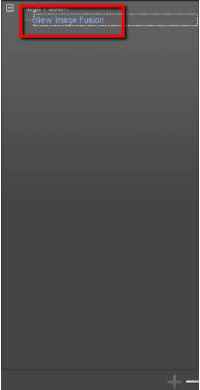 5. On the right side, you may change the name and add the description of the panorama. 6. Click on the Add button at the bottom, and you may start adding cameras to the current image fusion. 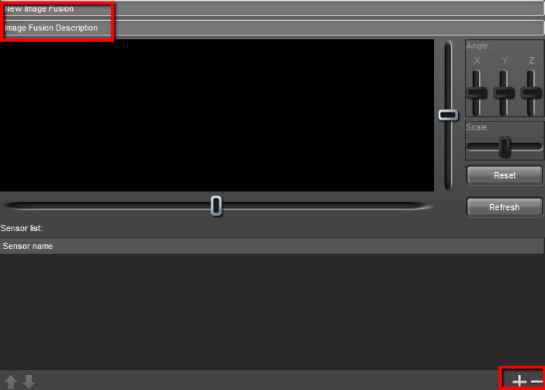 7. Select the cameras you want to add to the image fusion. Titan NuClient\Caniera2JCamera2 Titan NuClient\Camera Camera3 Titan N u Client\Ca mera 4\Ca mera 4 8. Selected cameras are highlighted.  9. After cameras are added, you will see camera images are stitched together in the view area in the center. You may start to adjust orientation of each image of the image fusion. 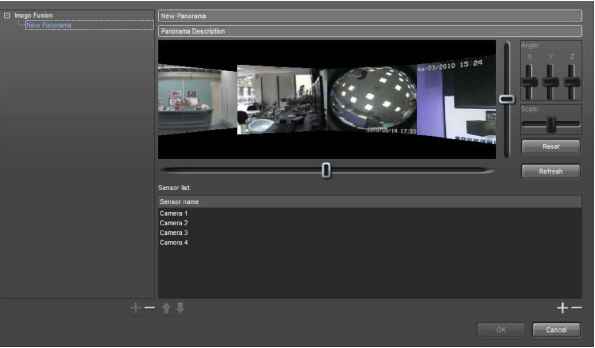 10. The horizontal and vertical scrollbars beside the view area are for controlling the viewport of the image fusion. The XYZ scrollbar are for adjusting the angles of an image. The scale scrollbar is for enlarging or shrinking an image. 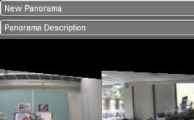 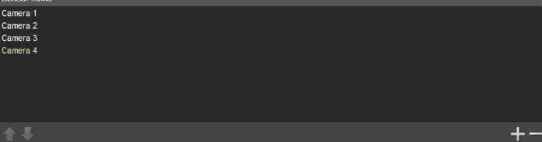 7.2.2 Example of image fusion 1. Adjust the X-axis of the viewport. 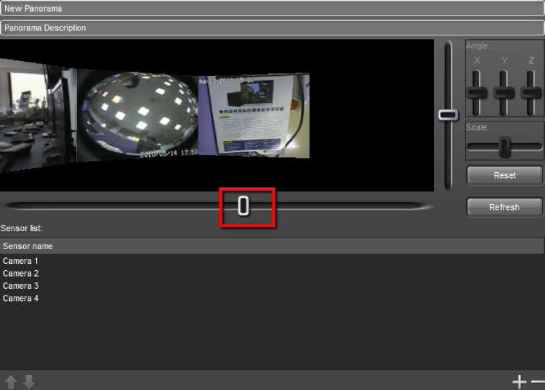 2. Adjust the X angle. 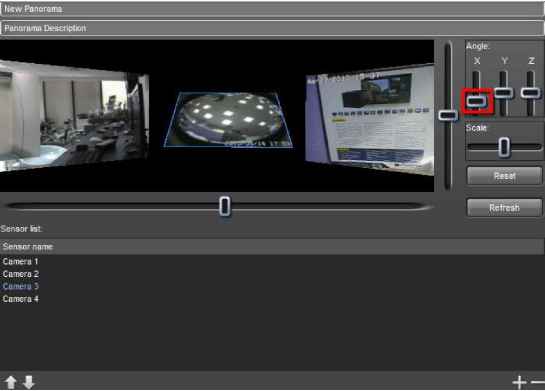 1 2 3 4 5 6 7 ... 11 |